接口文档
- 接口文档是用来描述 API 的详细信息, 包括:
- 请求参数
- 响应参数(错误码)
- 接口地址
- 接口名称
- 请求类型
- 请求格式
- 备注
接口文档的作用
-
有个书面内容(背书或者归档), 便于大家参考和查阅, 便于沉淀和维护, 拒绝口口相传
-
接口文档便于前端和后端开发对接, 前后端联调的介质. 后端 => 接口文档 <= 前端
-
好的接口文档支持在线调试和在线测试, 可以作为工具提高我们的开发测试效率
怎么做接口文档?
-
手写(比如腾讯文档、Markdown 笔记)
-
自动化接口文档生成: 自动根据项目代码生成完整的文档或在线调试的网页.
-
工具: Swagger, Postman(侧重接口管理)(国外); apifox、apipost、eolink(国产)
Swagger和Knife4j
-
Swagger
- Swagger 是一款开源的 API 文档生成工具, 它可以帮助我们自动生成 API 文档, 并通过 Swagger UI 进行展示.
-
Knife4j
- Knife4j 是一款基于 Swagger 的 API 文档生成工具, 它可以帮助我们自动生成 API 文档, 并通过 Swagger UI 进行展示.
- Knife4j 界面更漂亮, 功能更强大, 而且支持导出 HTML、Markdown、Word、PDF 等多种格式的文档, 所以推荐使用 Knife4j.
如何使用 Knife4j
-
引入依赖
<dependency> <groupId>com.github.xiaoymin</groupId> <artifactId>knife4j-openapi3-jakarta-spring-boot-starter</artifactId> <version>4.5.0</version> </dependency> -
定义配置类WebMvcConfig
package com.hjx.ucback.config; import org.springframework.context.annotation.Configuration; import org.springframework.web.servlet.config.annotation.ResourceHandlerRegistry; import org.springframework.web.servlet.config.annotation.WebMvcConfigurer; /** * Author: HanGR * Project: uc-back * Date: 2024/9/11 21:40 * Realize: */ @Configuration public class WebMvcConfig implements WebMvcConfigurer { /** * 设置静态资源映射 */ @Override public void addResourceHandlers(ResourceHandlerRegistry registry) { // 添加静态资源映射规则 registry.addResourceHandler("/static/**").addResourceLocations("classpath:/static/"); //配置 knife4j 的静态资源请求映射地址 registry.addResourceHandler("/doc.html") .addResourceLocations("classpath:/META-INF/resources/"); registry.addResourceHandler("/webjars/**") .addResourceLocations("classpath:/META-INF/resources/webjars/"); } } -
定义Knife4j配置类
package com.hjx.ucback.config; import io.swagger.v3.oas.models.OpenAPI; import io.swagger.v3.oas.models.info.Contact; import io.swagger.v3.oas.models.info.Info; import org.springdoc.core.models.GroupedOpenApi; import org.springframework.context.annotation.Bean; import org.springframework.context.annotation.Configuration; /** * Author: HanGR * Project: uc-back * Date: 2024/9/11 19:08 * Realize: */ @Configuration public class Knife4jConfig { private static final String API_INFO_TITLE = "接口文档"; // 接口文档标题 private static final String API_INFO_VERSION = "V1.0"; // 接口文档版本 private static final String API_INFO_DESCRIPTION = "用户中心接口文档"; // 接口文档描述 @Bean public GroupedOpenApi UserOpenApi() { return GroupedOpenApi.builder() .group("UserApi") // 接口分组名称 .displayName("用户模块") // 接口分组显示名称 .pathsToMatch("/**") // 匹配所有路径 .packagesToScan("com.hjx.ucback.controller") // 扫描的包路径 .build(); } @Bean public OpenAPI openAPI() { return new OpenAPI() .info(new Info() .title(API_INFO_TITLE) .description(API_INFO_DESCRIPTION) .version(API_INFO_VERSION) .contact(new Contact().name("HanGR")) ); } } -
创建实体类
- 使用 @Schema 注解对实体类属性进行描述, 并添加到 @Schema 注解中.
@Schema(description = "用户视图(脱敏)") public class UserVO implements Serializable { /** * id */ private Long id; /** * 用户昵称 */ private String userName; -
创建controller:
- 使用 @Tag(name = “ “) 标记 controller 的类别
- 使用 @Operation(summary =” “) 标记接口操作
@RestController @RequestMapping("/user") @Slf4j @Tag(name = "用户接口", description = "用户相关接口") public class UserController { @Resource private UserService userService; // region 登录相关 /** * 用户注册 * * @param userRegisterRequest * @return */ @PostMapping("/register") @Operation(summary = "用户注册", description = "用户注册", parameters = { @Parameter(name = "userAccount", description = "用户名", required = true, in = ParameterIn.QUERY, schema = @Schema(type = "string")), @Parameter(name = "userPassword", description = "密码", required = true, in = ParameterIn.QUERY, schema = @Schema(type = "string")), @Parameter(name = "checkPassword", description = "确认密码", required = true, in = ParameterIn.QUERY, schema = @Schema(type = "string")) }, responses = { @ApiResponse(responseCode = "200", description = "成功", content = @Content(schema = @Schema(implementation = BaseResponse.class))), @ApiResponse(responseCode = "400", description = "参数错误", content = @Content(schema = @Schema(implementation = BaseResponse.class))), @ApiResponse(responseCode = "500", description = "服务器内部错误", content = @Content(schema = @Schema(implementation = BaseResponse.class))) }) public BaseResponse<Long> userRegister(@RequestBody UserRegisterRequest userRegisterRequest) { if (userRegisterRequest == null) { throw new BusinessException(ErrorCode.PARAMS_ERROR); } String userAccount = userRegisterRequest.getUserAccount(); String userPassword = userRegisterRequest.getUserPassword(); String checkPassword = userRegisterRequest.getCheckPassword(); if (StringUtils.isAnyBlank(userAccount, userPassword, checkPassword)) { return null; } long result = userService.userRegister(userAccount, userPassword, checkPassword); return ResultUtils.success(result); } -
启动项目, 查看效果
- 访问接口文档地址http://localhost:8080/doc.html
-
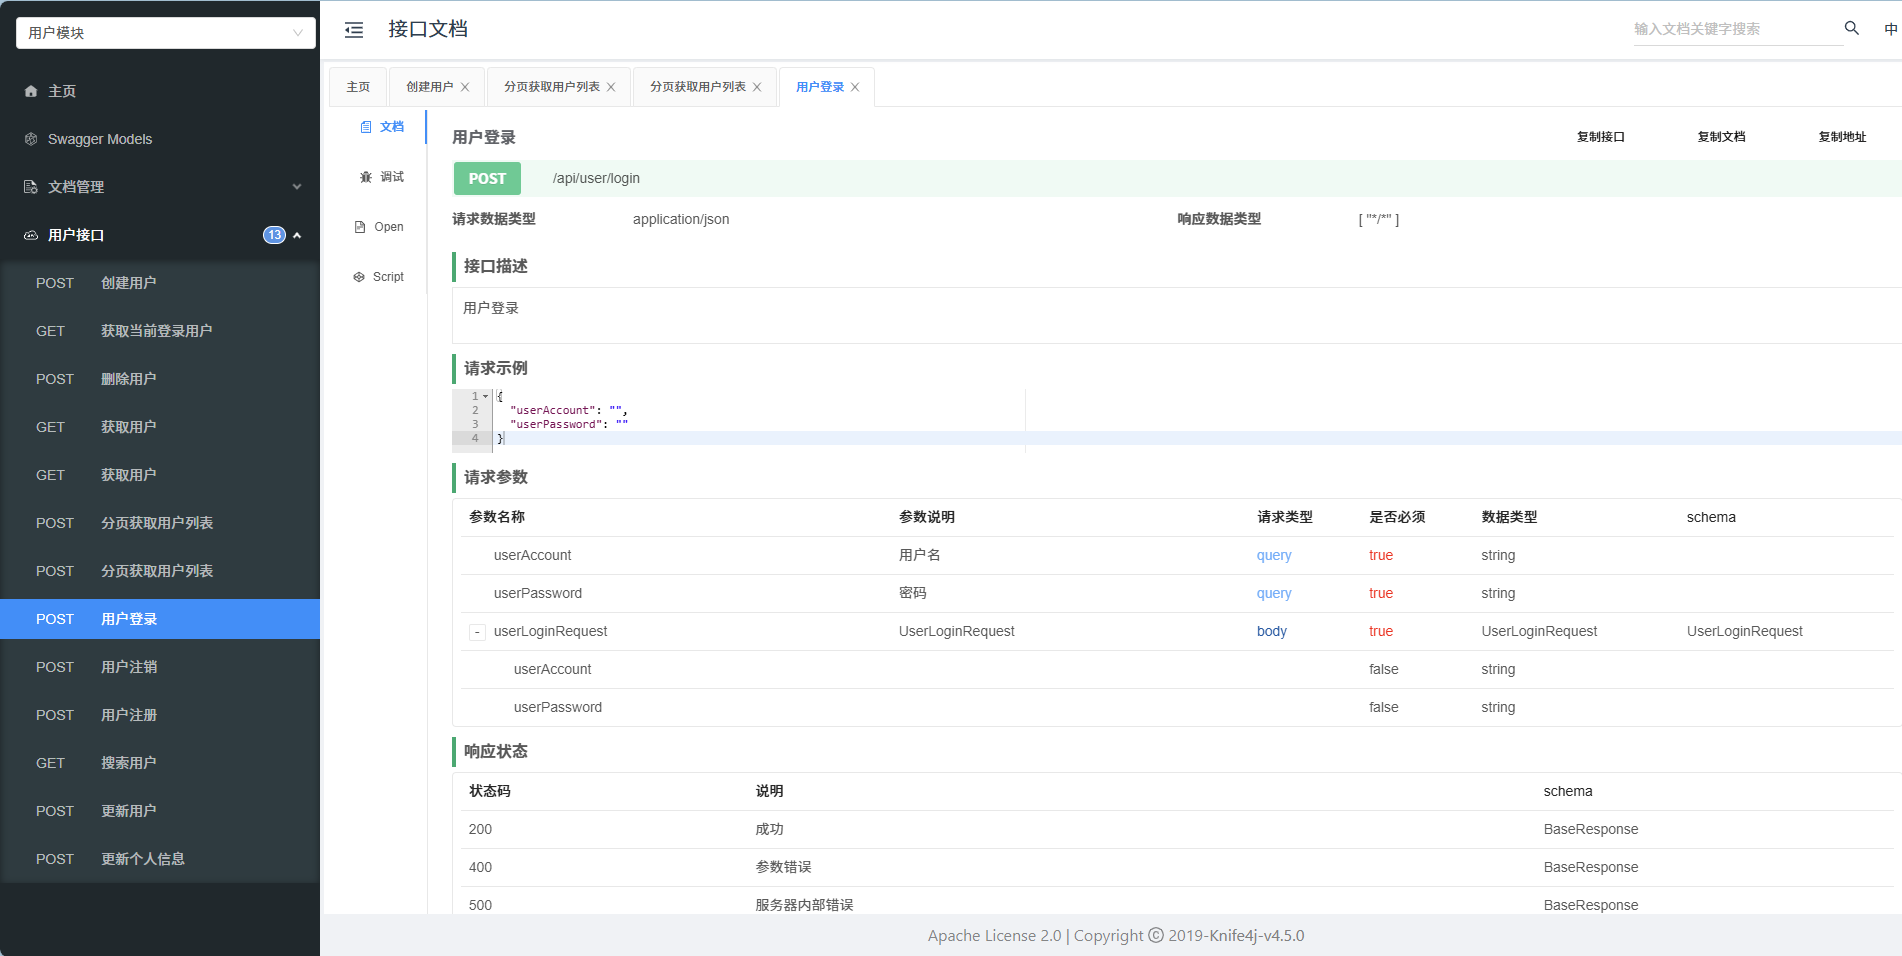
- 使用到的实体会在展示在Swagger Model中

- 访问接口文档地址http://localhost:8080/doc.html